CCNS Summer Camp 2021


Camp CCNS invites you to join us for 7 weeks of summer fun! Keeping in the spirit of our philosophy, where children learn through play, our camp will provide a range of experiences each week that cultivate the whole child.

Camp is open to children ages 2-5 (rising 3s through rising Kindergarteners) and will take place completely outside in our beautiful outdoor classroom & playground. Camp hours are from 9:30-1 pm Monday-Friday and costs $275 a week with the exception of Memorial Day week which costs $220. Children bring a snack and lunch with them. 

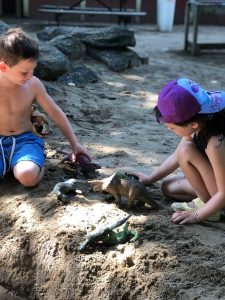
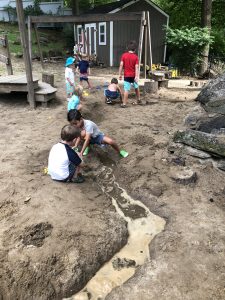
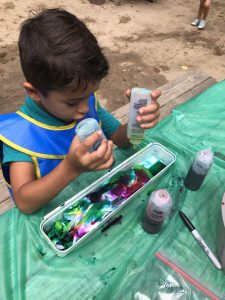
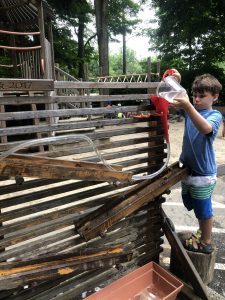
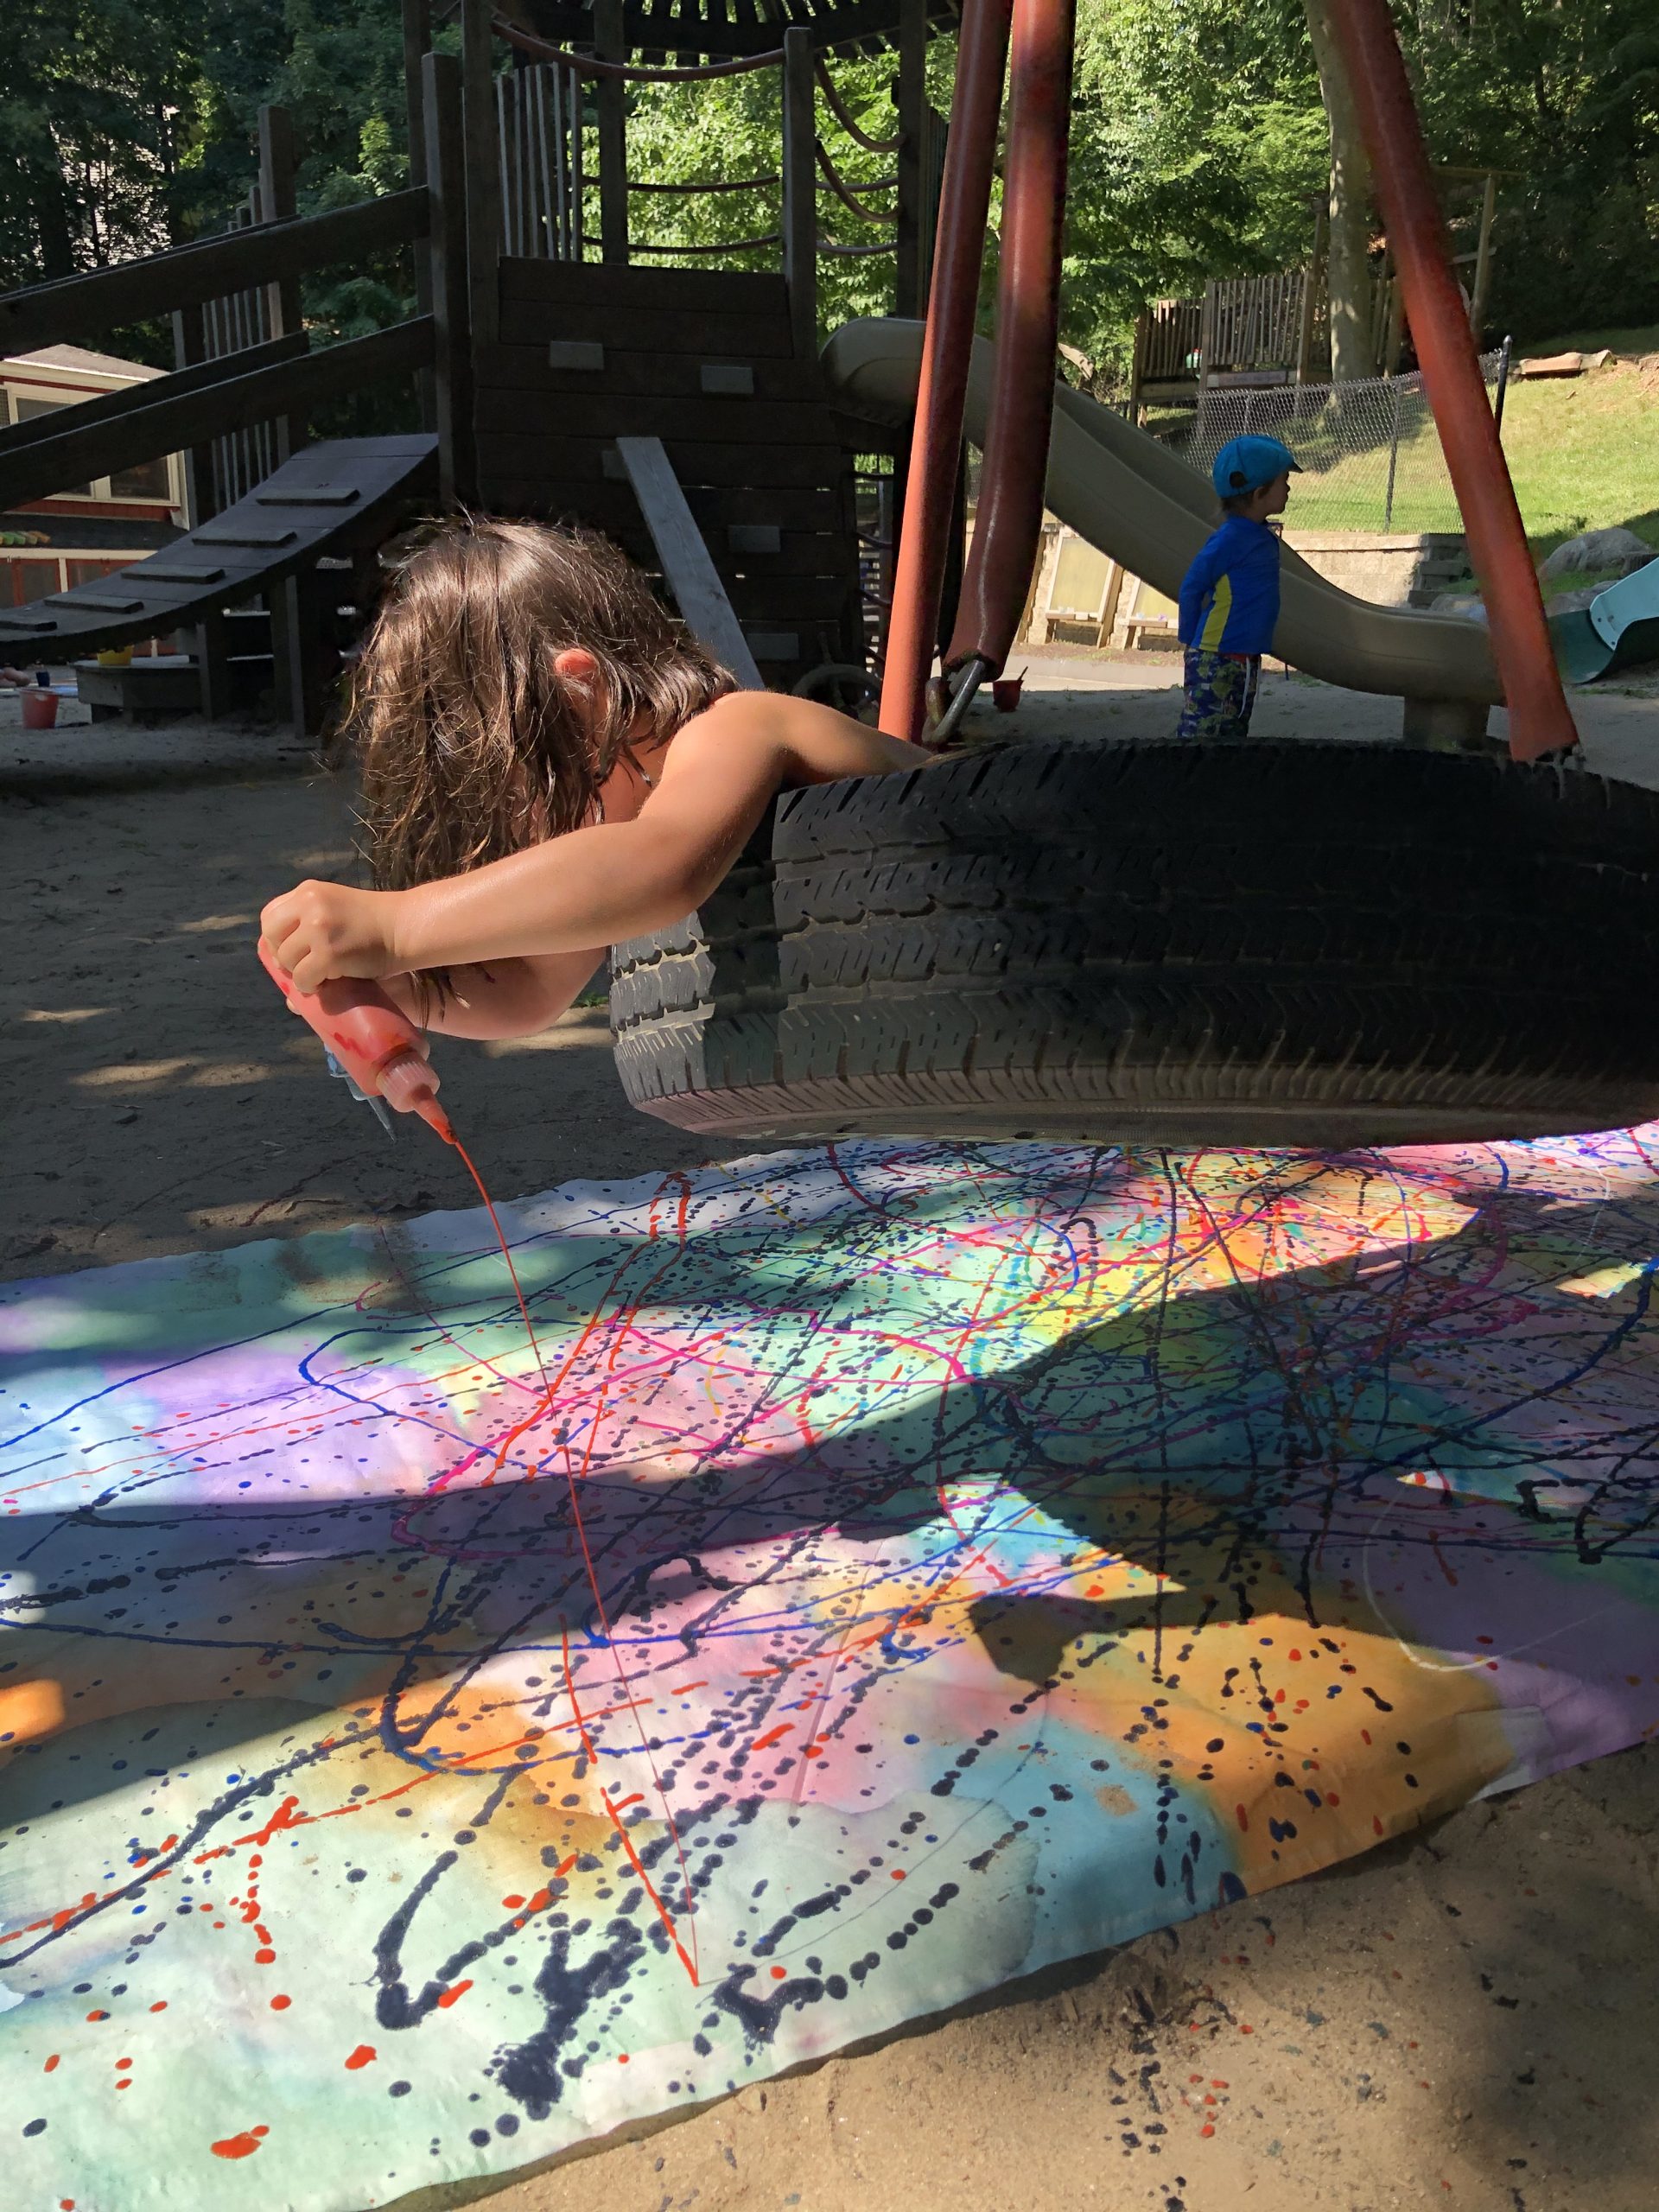
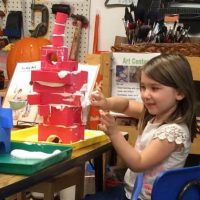
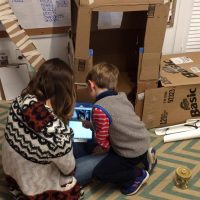
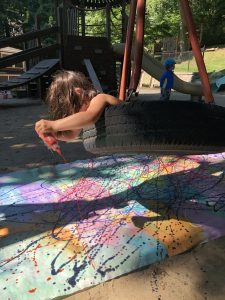
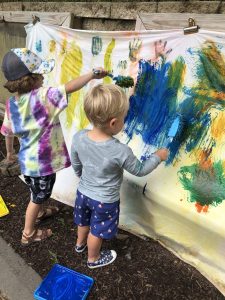
Each week of camp will provide a variety of play-based activities and creative projects with plenty of time to cook in the mud kitchen, conduct a concert in the music center and sail the seven seas from the top of our playground tower. Themes change each week but will most likely include Action Art, Kitchen Capers, Around the World, Gravitational Force, Clay, Dough & Slime, Up in the Air: Ball & Balloons and Sticks & Rocks-Nature Art! A typical day includes songs, stories, building, painting, potions, tie-dye, tinkering and of course lots of water play! 


We will be following all of our COVID 19 protocols from the school year as well as our camp from last summer. CCNS adheres to the guidelines set by the State, OEC, CDC, and the local health department, and will continue to meet the standards should they change. Additionally, our camp will be staffed with only current staff members to reduce the number of teachers/counselors to which the children will be exposed. Our maximum enrollment each week is 20 children per the current state guidelines. 

Please see below for our full camp schedule and pricing. Availability is limited. Please contact our Educational Director Dana Gorman at educ.dir@ccnsct.org for enrollment or additional questions. Hope to see you there! 

CCNS Camp Schedule: $275 a week, 9:30-1

  • Week 1: May 31-June 4(no camp on the 31st, $220 for this week only)
  • Week 2: June 7-11(currently full, waitlist open)
  • Week 3: June 14-18(currently full, waitlist open)
  • Week 4: June 21-25
  • Week 5: June 28-July 2
  • Week 6: July 5-9
  • Week 7: July 12-16

Constructing a Project of Study in the 4’s

One of the most exciting things about each new class, and something that sets CCNS apart, is how the wonderings of a diverse group of children develop into the year’s first Project Approach study. During the first weeks of school, the children interact with a wide range of stimulus and provocations. We observe, question, tweak and expand what’s on offer, looking for a common interest that sparks the children’s curiosity.

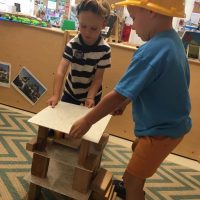
This Fall, the children were busy building structures in the block center and lining up for the workbench– perennially popular activities in the CCNS Fours. But this group seemed especially engaged when working with toy construction tools, playing with construction vehicles and building structures with loose parts on the playground. They were asking questions about how things are built and were especially curious about the tools, materials, jobs, sites and vehicles involved.

They had questions. They wanted answers. And we… had our first Project: Building & Construction.

As in any Project Approach study, the first task was to develop an investigation plan to explore the topic. The children listed their (many!) questions, and we brainstormed ways to find the answers. Their plan included research using books and videos, inviting “experts’ into the classroom, creating their own construction vehicles and making field site-visits to see construction in progress and construction vehicles at work. We added ways for the children to document their learning and report on their findings. Using the Project Approach like this in our curriculum is so valuable because the topic holds the children’s interest for months, and working through the investigation plan builds real world skills that will be used from elementary school to high school and beyond.


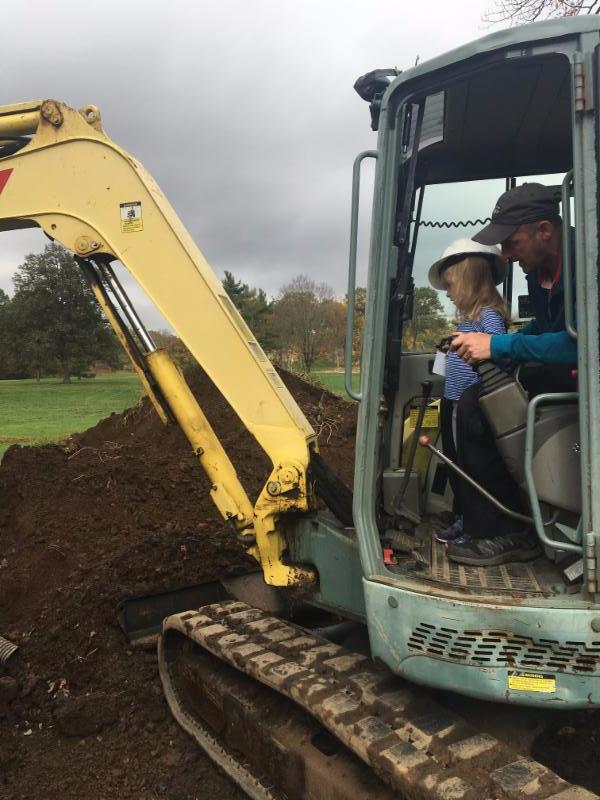
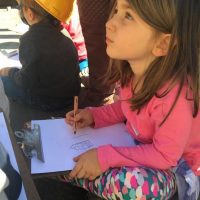
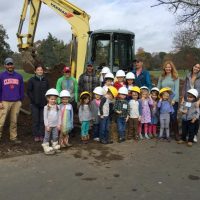
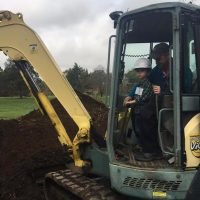
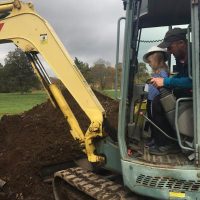
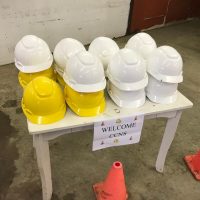
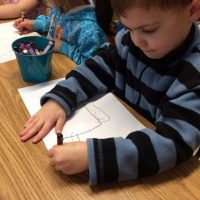
Our first field site-visit was to a construction site to interview an expert in the field. The children were very excited to be able to ask their questions and see some of the equipment that they had been reading about in action. We took photographs and made field sketches to help with our research and document our experience. On our second field site-visit, we saw the inside of a building being built, a tree being chopped down and chipped, a stump being ground and several different lawn mowers and trucks. The highlights of the trip were receiving our very own hard hat (to keep!) and actually using the controls of an excavator to scoop dirt and bring it to a dump truck!


On our final field site-visit, we learned all about the process of making concrete from Devine Brothers. We saw several vehicles up close, and our class was even featured on News12 Connecticut talking about this study and our visit.

Thanks to all the construction experts who created such amazing hands-on experiences that the children will be talking about for years. And what a testament to our amazing CCNS community that two of the three field visits were organized by CCNS dads who do not even have a child in this current Fours class!

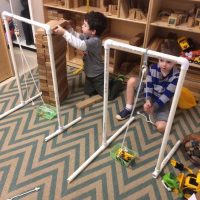
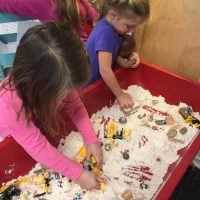
Once the Construction Project was underway, the children enjoyed new stimulus that was added to the classroom for free-play exploration- construction vehicles, cones, signs, pipes and connectors in the block area plus pulleys and levers to explore our budding engineering skills. There was a moon sand construction site in the sensory table and foam blocks being mortared together with shaving foam at the art table.


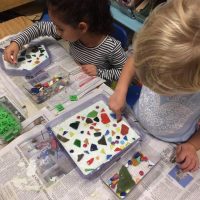
With all this talk about building, the children wanted to build something themselves. They were able to make stepping stones from one of the ingredients in concrete: cement. The kids enjoyed watching the cement go from a powder, to a liquid and then to a solid as it cured. They decorated the stones with mosaic tiles and created an individual keepsake of their learning that was, literally, set in stone.

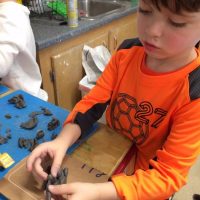
And no construction vehicle captured the children’s attention more than the excavator, so naturally they wanted to make one. Initially, the kids asked to make small excavators out of clay. They learned several clay techniques, and it was amazing to see the fine details that so many of the children represented in their pieces.

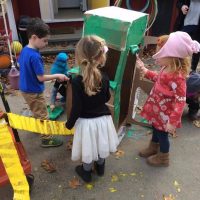
Finally the children used their research and field site-visit photos to build a big excavator together. It was incredibly realistic, with moving parts, and the children voted to paint it to match the one they actually operated on their field site-visit.


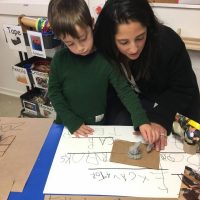
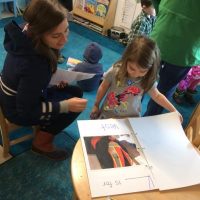
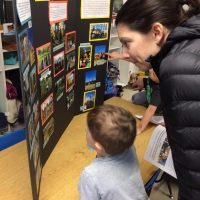
The kids further documented this Project by creating a class alphabet book using their research and photographs from their trips. Finally, family and friends were invited into the classroom to learn more about building and tour the celebration of our construction project work.

We thoroughly enjoyed this Project – and the best part was building the children’s confidence and pride in their deep knowledge of all things “building and construction”!
Making Faces in the Threes

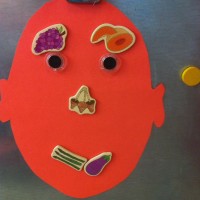
We’ve been “making faces” in the Threes, which is a fun way to help children at this age identify and discover more about how their eyes, noses and mouths work.

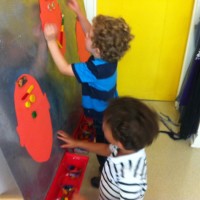
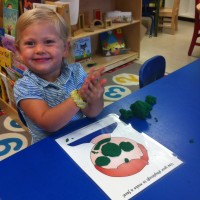
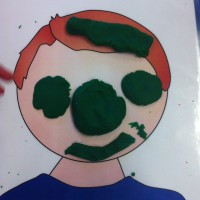
We started by talking about what features you might find on a face. We looked at our faces in the mirror and identified things that are largely the same on all our faces (like noses, ears, lips, and eyebrows) and things that are different (like eye color, hair color and hair type). On our easel, we created faces using shape magnets, and we used play dough to form the features of a face, then talked about our choices.  We all agreed that “circles work best for eyes!”

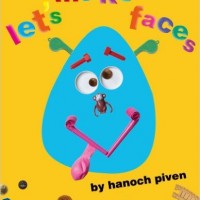
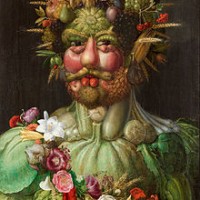
We next read the book  “Let’s Make Faces” by Hancock Priven and used a range of materials and loose parts to create faces.  And then we looked at Giuseppe Arcimboldo’s famous “Four Seasons” paintings, in which he created faces made up of fruit, vegetables, flowers and plants, and we created our own faces inspired by his art work.

You might have some fun making faces with your child at home – I hear you can do a lot with a pancake and some berries!
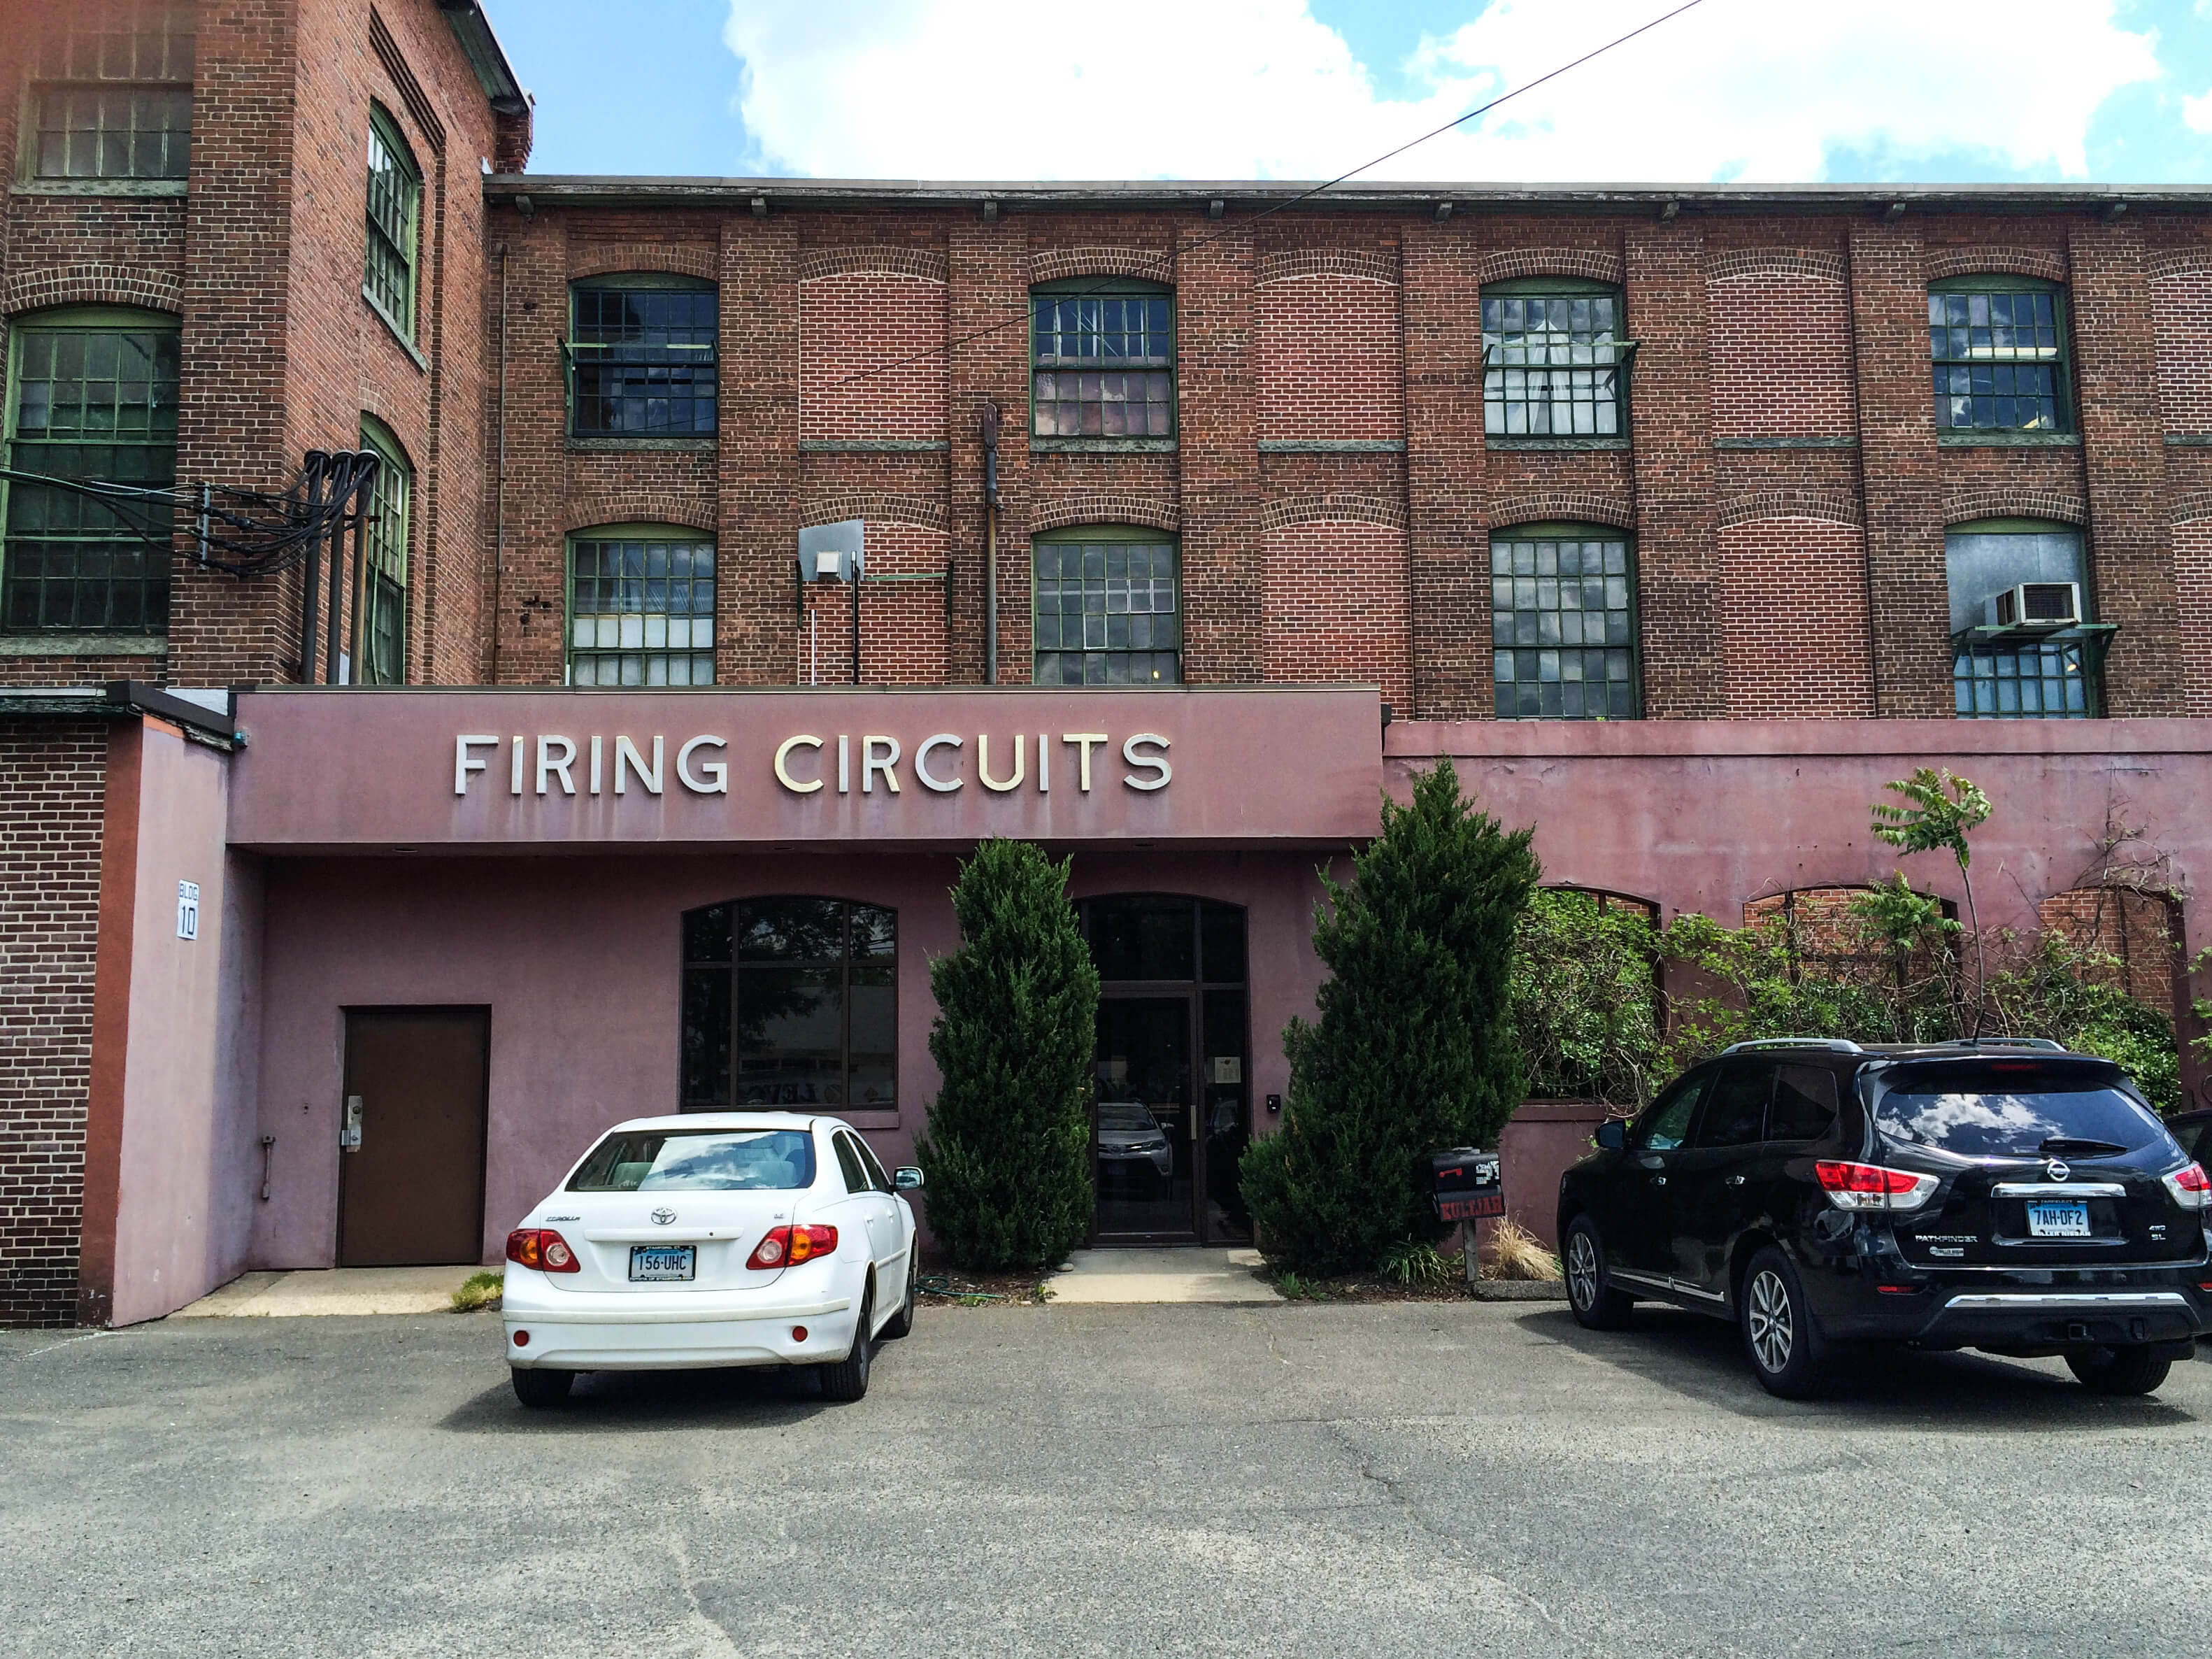
Firing Circuits: A Reclaimed Factory Becomes an Inspired Studio Space for Dozens of Artists

[vc_row][vc_column width=”2/3″][vc_gallery type=”flexslider_fade” interval=”3″ images=”787,788,789,790,791,792,793,794,796,795″ onclick=”link_image” custom_links_target=”_self” img_size=”full”][/vc_column][vc_column width=”1/3″][vc_column_text disable_pattern=”true” align=”left” margin_bottom=”0″]Our marketing committee recently had the opportunity to visit Firing Circuits Studios where CCNS Art Show favorites, Mari Gyorgey and Susan Leggitt both have studios.  Firing Circuits is located in a multi­story brick building, which was the former home of the Dresden Lace Works and then an electronics components manufacturer named … Firing Circuits.  Mari’s and Susan’s studios are located on the spacious third floor of the building, which includes lofted ceilings; exposed brick walls, vents and pipes; and beautiful, old paned windows.  Take a peek at their studios with us, and come check out Mari’s and Susan’s artwork on June 4-­7, 2015.[/vc_column_text][/vc_column][/vc_row]

Learning The Finer Points of Fine Art Printmaking With Betty Ball and Jane Cooper

[vc_row][vc_column][vc_column_text]Within the 19th century, former carriage house of the Lockwood Mathews mansion in Norwalk resides the Center for Contemporary Printmaking (CCP), which was founded in 1995 as a non-profit organization dedicated to supporting fine art printmaking, including lithography, monotype, silk screen, and several other printing techniques.

Members of the CCP have participated in the CCNS Art Show & Sale throughout the years, and this year’s show includes two fine art printmakers who are “key holding” members of the CCP, Betty Ball and Jane Cooper.  I recently had the great pleasure of meeting with Betty and Jane at the CCP where I received a tour of the facility, observed an ongoing Norwalk Community College class, picked up a lithostone (there is seriously no reason for a lithographer to join a gym … ever), learned about Betty’s and Jane’s creative processes, and was even put to work pressing one of Jane’s prints!

What I learned during my visit to the CCP is that there is much more than meets the eye when it comes to creating a fine art print.  Fine art printmaking is the creation of an original artwork using whatever medium and materials the artist chooses, and most definitely should not be confused with a print or reproduction (these days often done by giclee printing) of an original artwork.  Both Betty and Jane create monotypes and monoprints, which involve the transfer of ink or paint from a plate to a paper or canvas often with the assistance of a press.  To sound like a true aficionado, here are some key terms that you should know:

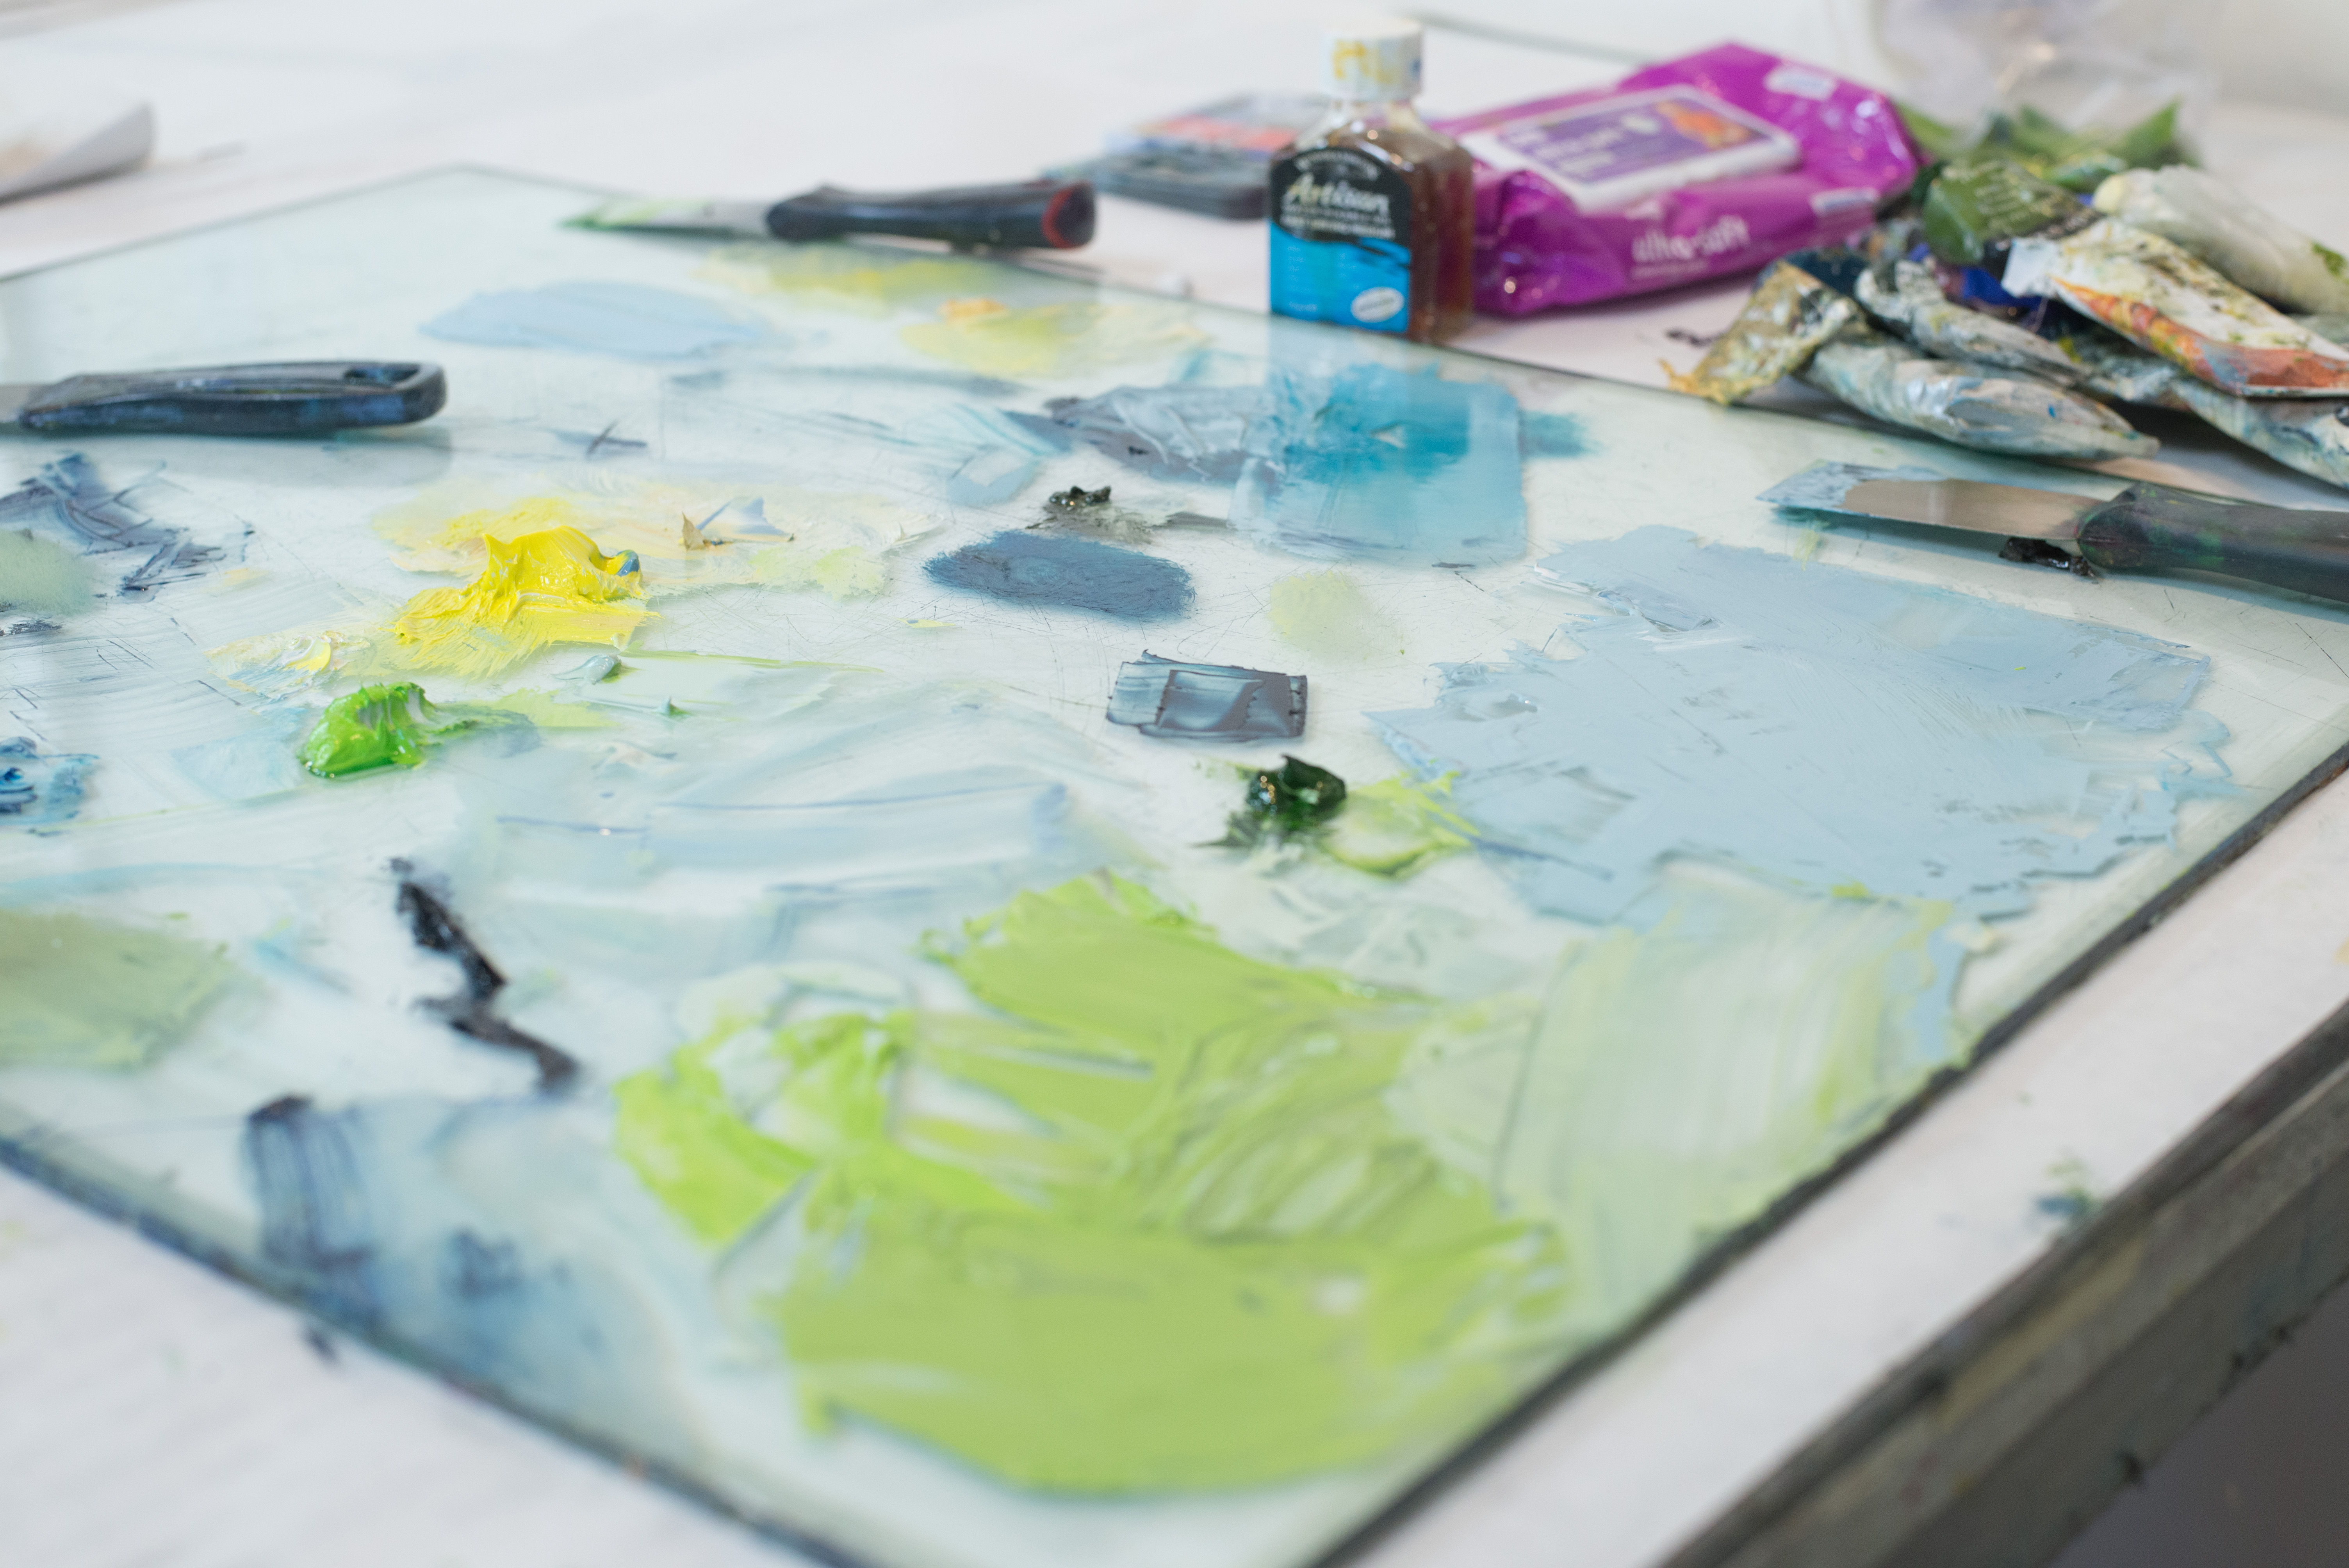
  • Monotype – A monotype is essentially a printed painting and is created by transferring ink or paint from a clean, unetched plate to paper or canvas.  Betty and Jane use oil-based paints that they apply to plates using brushes, cotton swabs, brayers … any number of items.
  • Monoprint – A monoprint is the same as a monotype except that it will reflect a pattern or part of an image that is part of the plate.  In creating a monoprint, the plate is not clean but etched or has some kind of pattern such as lace or leaves, which will always be reflected in a print created with that plate.
  • Ghost Image – Generally, almost all of the ink or paint is transferred from the plate to the paper or canvas; however, some artists create a ghost image of the original print by pressing another piece of paper or canvass with the same plate without re-inking or re-painting.
  • Chine colle – Chine collie is a method in which thinner paper is bonded to heavier paper before ink or paint is pressed onto the papers.  This method can add texture, color or depth to a print.

Be sure to stop by the CCNS Art Show & Sale June 4-7 to see some of the beautiful fine art prints created by Betty and Jane![/vc_column_text][/vc_column][/vc_row][vc_row][vc_column width=”1/1″][vc_gallery type=”flexslider_fade” interval=”3″ images=”776,777,780,779,778,781″ onclick=”link_image” custom_links_target=”_self” img_size=”full”][/vc_column][/vc_row]

Art in Design Tips From Lillian August Designer Meighan Morrison

[vc_row][vc_column width=”2/3″][vc_column_text disable_pattern=”true” align=”left” margin_bottom=”0″]In advance of this year’s Art Show (June 4-7) Meighan Morrison, Lillian August interior designer, offers some tips on displaying artwork in your home.

1) DON’T “HANG ‘EM HIGH”
Invite your art to join you! People have a tendency to hang art too high in an interior space. Art should be a connected element in and of the vignette you are creating whether it be hung over a sofa or over a console, etc. Just a few inches over the sofa is fine… don’t worry if there is much more space above the art than below it. In short, instead of plunking art in the middle of the wall space, hug it to the rest of your design.

2) BE BOLD AND EMBRACE THE NEGATIVE
There is a tendency to want to evenly space out pieces of art throughout the available wall space of a room or home, much as one would evenly space out uniform pats of butter on top of a pie. This may result in a nice pie but does not usually result in a very interesting or dynamic interior space. Instead, play with scale and placement. Hanging one really large, impactful piece in a room and perhaps some secondary walls left empty is going to be more interesting than several similarly sized pieces equally spaced around the room. This follows the rule (both in art as well as interiors) that the negative space is as important as the positive space.

3) FORM A TIGHT-KNIT GROUP
As an alternative to a single large piece of art, diptychs and triptyches are fun and effective. If you have a collection of smaller artworks, try grouping them together to create one large presentation – either spaced evenly (for example, 3 neatly spaced rows of 5 same-sized photographs) or a randomly spaced grouping of art of different sizes. Either way, if you keep your grouping fairly tight, you will create a gallery wall that will carry similar impact to hanging one very large piece of art.

4) MIX IT UP
Instead of hanging traditional looking art in a traditional interior, consider choosing something graphic and modern – contemporary looking art juxtaposed against more traditional decor and/or architecture will instantly freshen a space and give it a more current look. On the flip side, an ornate frame and/or traditional painting in a clean, contemporary space can be just the tweak needed to add a spark of warmth and character to a space that might otherwise have felt a bit cold and austere.

5) DON’T JUDGE THE ART BY THE FRAME
Don’t fall in love with the just the fancy wrapping paper but the actual gift itself! It is easy to get enamored with an expensive or trendy looking frame when purchasing art…. or to overlook a beautiful piece of art because it is unframed or doesn’t actually need a frame or is wearing the wrong frame. Be sure it is the ART that you are connecting with. Frames are to art what accessories are to the dress: easy to change but quick to make or break the look.

Whether you choose a signature piece of original art by a well-known painter or an interesting piece from an emerging talent, fill your space and life with artwork that speaks to you. Local galleries or exhibits like this year’s CCNS Art Show & Sale (June 4-7 in Rowayton) are great places to find inspiration and that next interesting piece of art that will help you create a beautiful space.[/vc_column_text][/vc_column][vc_column width=”1/3″][vc_gallery type=”flexslider_fade” interval=”3″ images=”729,730,723″ onclick=”link_image” custom_links_target=”_self” img_size=”full”][/vc_column][/vc_row]